12 Easy 5-Ingredient Dessert Recipes for Beginners
If you’re looking to whip up something sweet without diving into a long list of ingredients, you’re in for a treat! These 12 delicious dessert recipes each come with just five ingredients, making them perfect for beginners. Whether you’re craving cookies, brownies, or something fruity, these simple yet tasty options will have you impressing friends and family in no time!
Berry Yogurt Parfaits
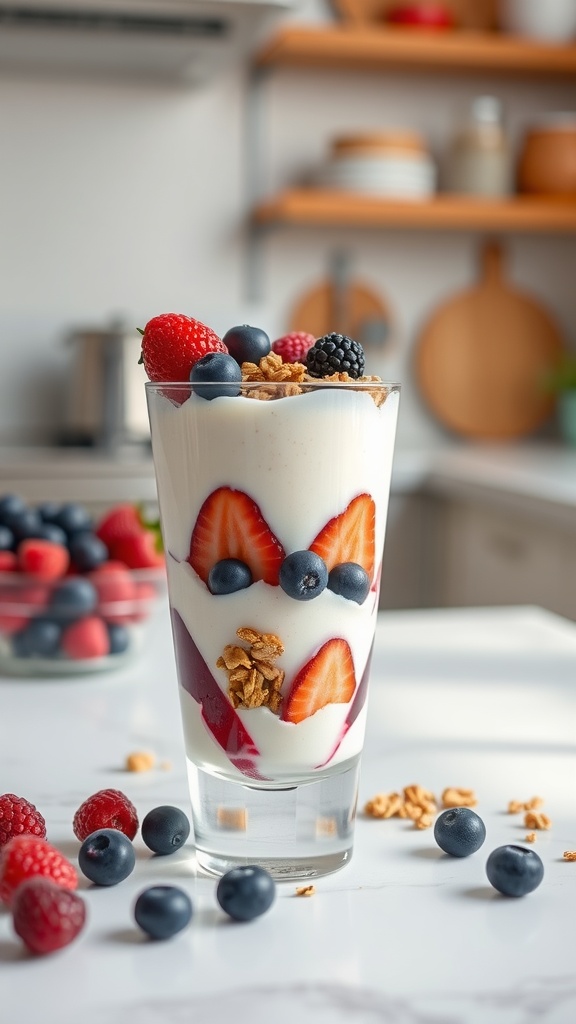
Berry yogurt parfaits are a delightful and refreshing dessert that combines layers of creamy yogurt, fresh berries, and crunchy granola. This simple recipe is not only quick to prepare but also bursting with flavor and nutrition. The sweet and tangy notes of the berries complement the smoothness of the yogurt, making this a perfect treat for any occasion.
Creating these parfaits is straightforward, making it an ideal recipe for beginners. The combination of textures—from the juicy berries to the creamy yogurt and crispy granola—will satisfy your cravings without being too heavy. Plus, you can customize them with your favorite fruits and toppings!
No-Bake Peanut Butter Bars
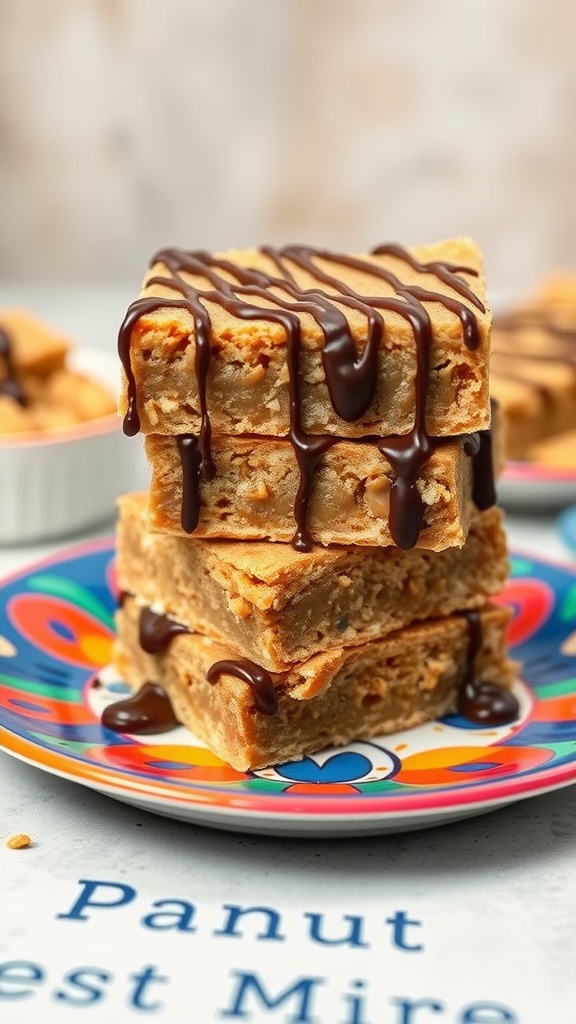
No-bake peanut butter bars are a delightful treat that combines creamy peanut butter with the sweetness of chocolate. They’re rich, satisfying, and incredibly easy to whip up, making them a perfect choice for anyone new to baking.
The taste is a heavenly mix of nutty and sweet flavors, with a smooth texture that melts in your mouth. Plus, with just five ingredients, you can have these delicious bars ready in no time!
Ingredients
- 1 cup creamy peanut butter
- 1/2 cup honey or maple syrup
- 1 cup rolled oats
- 1/2 cup chocolate chips
- 1/4 cup unsweetened cocoa powder
Instructions
- Mix Ingredients: In a mixing bowl, combine the peanut butter and honey (or maple syrup) until smooth. Stir in the rolled oats, cocoa powder, and half of the chocolate chips.
- Prepare the Pan: Line an 8×8 inch baking dish with parchment paper. Press the mixture evenly into the bottom of the dish.
- Melt Chocolate: Melt the remaining chocolate chips in the microwave in 30-second intervals, stirring until smooth. Drizzle the melted chocolate over the pressed mixture.
- Chill: Refrigerate the bars for at least 2 hours or until firm. Once set, cut into squares and enjoy!
Caramel Apple Nachos
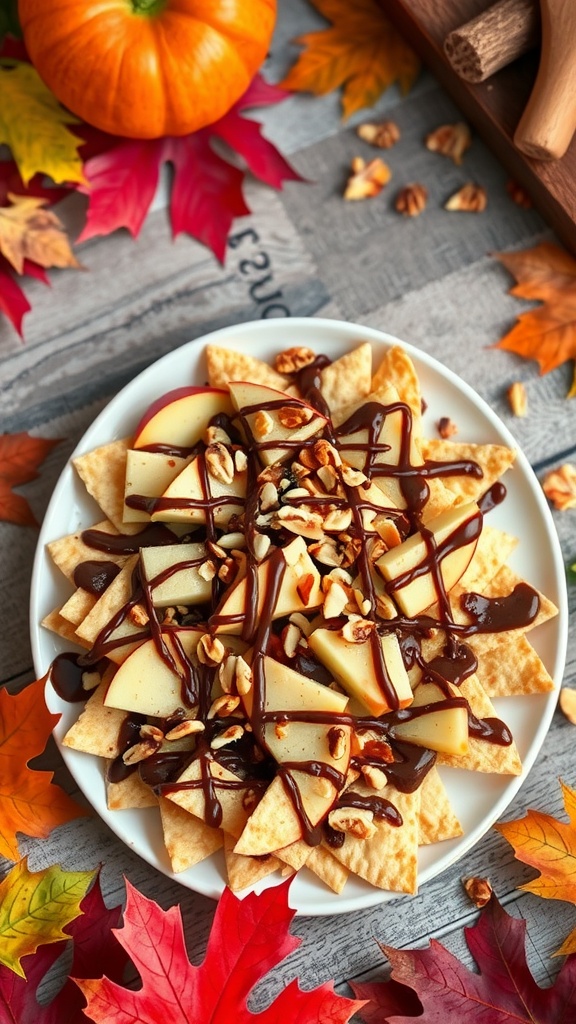
Caramel Apple Nachos are a fun and delicious twist on a classic dessert. They combine crisp apple slices with crunchy toppings, all drizzled with rich caramel and chocolate sauce. This delightful dessert is perfect for any occasion, whether it’s a cozy movie night or a festive gathering. Plus, it’s super easy to whip up!
With just a few simple ingredients, you can create a treat that is both satisfying and visually appealing. The combination of sweet and tart from the apples, paired with the creaminess of caramel, makes every bite a real delight. Get ready to impress your friends and family with this simple yet scrumptious dessert!
Ingredients
- 2 medium apples, sliced
- 1 cup tortilla chips
- 1/2 cup caramel sauce
- 1/4 cup chocolate sauce
- 1/4 cup chopped nuts (like pecans or walnuts)
Instructions
- Arrange the tortilla chips on a large plate in a single layer.
- Evenly distribute the apple slices over the chips.
- Drizzle caramel sauce generously over the apple slices and chips.
- Follow with a drizzle of chocolate sauce.
- Sprinkle chopped nuts on top for added crunch.
- Serve immediately and enjoy your delicious creation!
Chocolate Mousse Cups
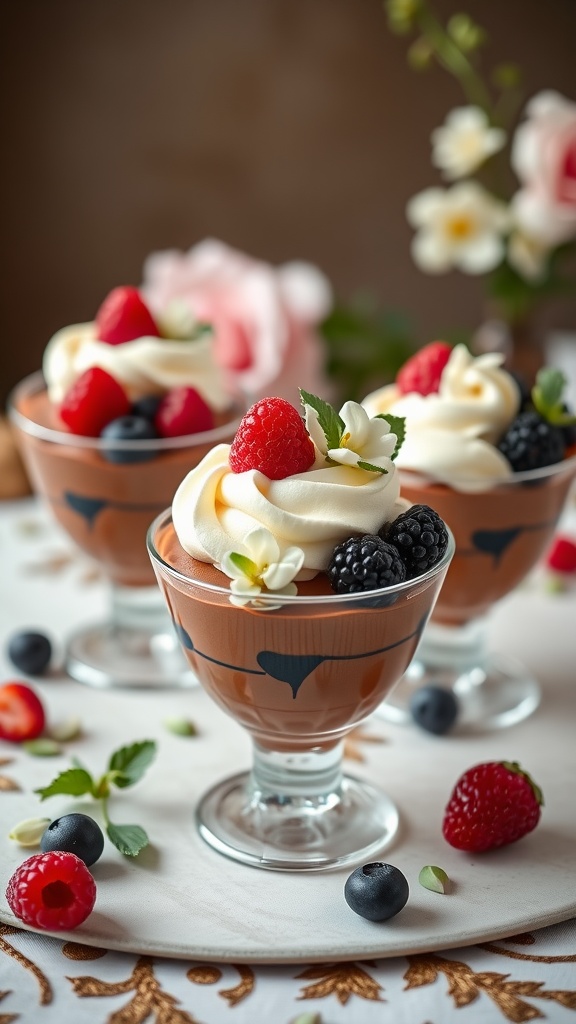
Chocolate mousse cups are a delightful treat that impresses with their rich and creamy texture. This simple recipe is great for beginners, requiring just five ingredients to create a luscious dessert that feels indulgent yet is surprisingly easy to prepare.
The light and airy chocolate mousse is perfectly complemented by a dollop of whipped cream and fresh berries, making these cups not just a feast for the taste buds but a visual delight as well. Whether you’re hosting a dinner party or treating yourself, these mousse cups are sure to satisfy your chocolate cravings!
Ingredients
- 1 cup heavy cream
- 1 cup semi-sweet chocolate chips
- 1 teaspoon vanilla extract
- 2 tablespoons sugar
- 1/4 cup fresh berries (raspberries, blueberries, or strawberries)
Instructions
- Melt the Chocolate: In a microwave-safe bowl, melt the chocolate chips in 20-second intervals, stirring in between until smooth. Let it cool slightly.
- Whip the Cream: In a separate bowl, whip the heavy cream, sugar, and vanilla extract until soft peaks form.
- Combine: Gently fold the melted chocolate into the whipped cream until well combined, being careful not to deflate the mixture.
- Chill: Spoon the mousse into individual cups and refrigerate for at least 30 minutes to set.
- Serve: Top each mousse cup with a dollop of whipped cream and a selection of fresh berries before serving. Enjoy!
Oreo Dessert Cups
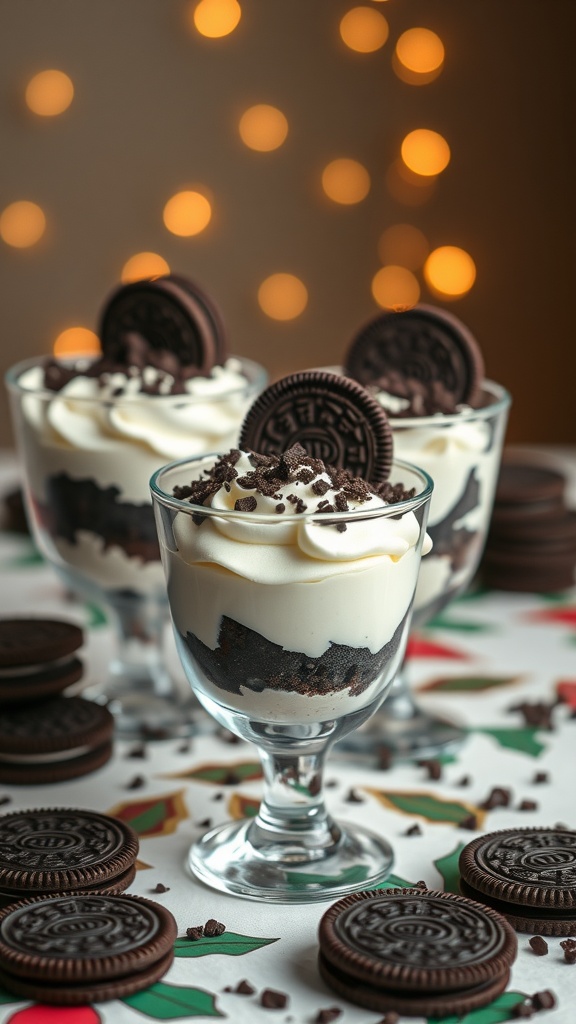
Oreo Dessert Cups are a delightful treat that combines creamy goodness with crunchy chocolate flavor. This simple recipe is perfect for beginners and offers a satisfying blend of textures and tastes that everyone will love. With just a few ingredients, you can whip up a dessert that feels indulgent without requiring a lot of time or effort.
The layers of crushed Oreos, creamy filling, and whipped topping make each bite a mini celebration. They are perfect for gatherings or a cozy night in, adding a bit of sweetness to any occasion!
Ingredients
- 2 cups crushed Oreo cookies
- 1 cup cream cheese, softened
- 1 cup whipped topping
- 1/2 cup powdered sugar
- Chopped Oreos for topping
Instructions
- In a mixing bowl, combine the softened cream cheese and powdered sugar. Beat until smooth and creamy.
- Fold in the whipped topping gently until well combined.
- In serving cups, layer the crushed Oreo cookies at the bottom, then add a layer of the cream cheese mixture, and repeat until the cups are filled.
- Top with chopped Oreos for an extra crunch.
- Chill in the refrigerator for at least 30 minutes before serving. Enjoy your delicious Oreo Dessert Cups!
Chocolate Chip Cookie Dough Truffles

If you’re a cookie lover, these Chocolate Chip Cookie Dough Truffles will quickly become your go-to treat! They capture the classic taste of cookie dough in a bite-sized, no-bake form. They’re soft, sweet, and packed with chocolate chips, making them irresistible.
What’s great about these truffles is their simplicity. With just five ingredients, you can whip up a batch in no time. They’re perfect for sharing or enjoying as a little pick-me-up during the day.
Ingredients
- 1 cup all-purpose flour (heat-treated)
- 1/2 cup unsalted butter, softened
- 3/4 cup brown sugar, packed
- 1/4 teaspoon salt
- 1/2 cup chocolate chips
Instructions
- Prepare the Dough: In a bowl, mix the softened butter and brown sugar until creamy. Add the heat-treated flour and salt, and mix until combined. Fold in the chocolate chips.
- Form the Truffles: Scoop out small portions of the dough and roll them into balls. Place them on a parchment-lined baking sheet.
- Chill: Refrigerate the truffles for about 30 minutes, or until firm.
- Serve: Enjoy the truffles chilled or at room temperature. Store any leftovers in an airtight container in the refrigerator.
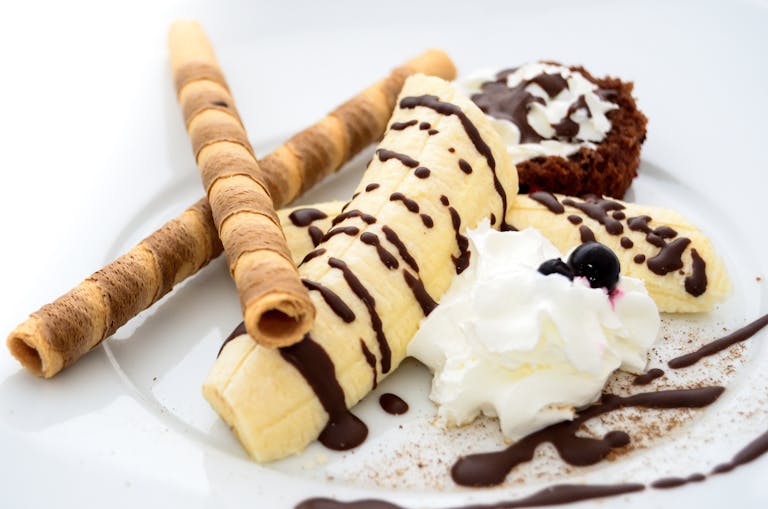
Banana Ice Cream
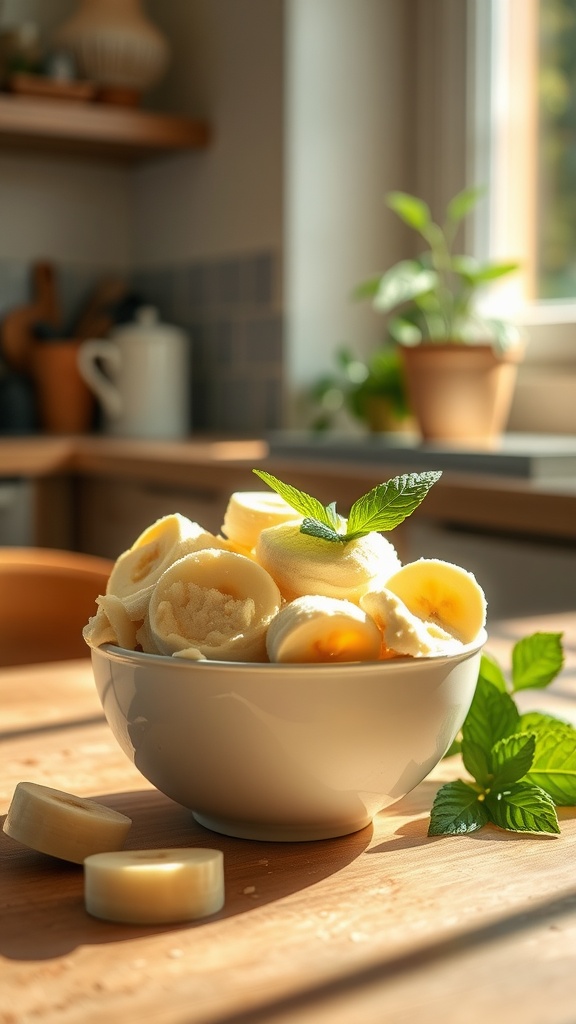
Banana ice cream is a simple, delicious treat that’s perfect for warm days and easy enough for anyone to make. With just ripe bananas, it offers a creamy texture and naturally sweet flavor without any added sugars. This frozen delight is not only tasty but also a healthier alternative to traditional ice cream.
Making banana ice cream is a breeze. All you need to do is freeze ripe bananas, blend them, and enjoy a smooth, creamy dessert. It’s a great way to use up overripe bananas and delight everyone, from kids to adults!
Ingredients
- 4 ripe bananas
- 1 tablespoon peanut butter (optional)
- 1 teaspoon vanilla extract
- 1/2 teaspoon cinnamon (optional)
- 1 tablespoon honey or maple syrup (optional)
Instructions
- Prepare the Bananas: Peel the ripe bananas and slice them into small pieces. Place the banana slices in a single layer on a baking sheet and freeze for about 2 hours or until solid.
- Blend the Bananas: Once frozen, place the banana slices in a blender or food processor. If you like, add peanut butter, vanilla extract, cinnamon, and honey or maple syrup for extra flavor.
- Blend Until Smooth: Blend the mixture until it reaches a creamy consistency, scraping down the sides as needed. This may take a minute or two.
- Serve or Freeze: You can serve the banana ice cream immediately for a soft-serve texture or transfer it to a container and freeze for an additional hour for a firmer consistency.
- Enjoy: Scoop out the banana ice cream and enjoy it plain or with your favorite toppings!
Lemon Coconut Energy Bites

Lemon Coconut Energy Bites are a refreshing and simple treat that combines zesty lemon with the tropical flavor of coconut. These bites are not only delicious but also packed with energy-boosting ingredients, making them perfect for a quick snack or a post-workout pick-me-up.
With just five ingredients, this recipe is super easy to follow, so even beginners can whip these up in no time. The bright, tangy taste of lemon paired with the sweetness of coconut creates a delightful flavor that’s sure to satisfy your sweet tooth without the guilt.
Ingredients
- 1 cup rolled oats
- 1/2 cup almond butter
- 1/4 cup honey or maple syrup
- 1/2 cup shredded coconut
- 1 tablespoon lemon juice
Instructions
- In a large bowl, mix together the rolled oats, almond butter, honey (or maple syrup), shredded coconut, and lemon juice until well combined.
- Once the mixture is sticky and holds together, use your hands to form small balls, about 1 inch in diameter.
- Place the energy bites on a baking sheet lined with parchment paper and refrigerate for at least 30 minutes to firm them up.
- After chilling, enjoy immediately or store in an airtight container in the fridge for up to a week.
Almond Joy Energy Balls
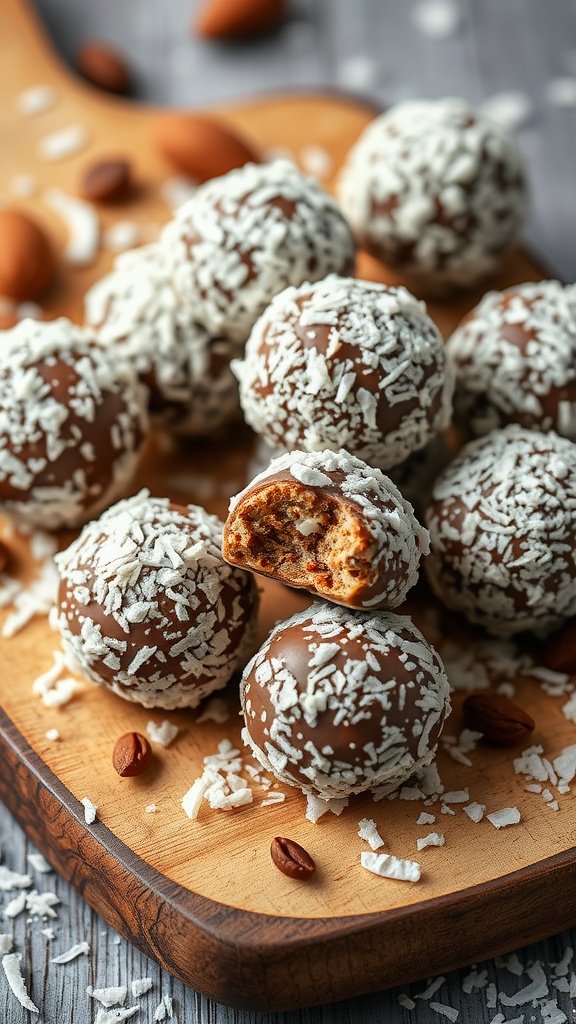
Almond Joy Energy Balls are a delightful treat that perfectly capture the flavors of the classic candy bar. These little bites are packed with the goodness of almond butter, coconut, and dark chocolate, making them not only tasty but also nutritious. With just five ingredients, they are super simple to whip up, allowing even beginners to impress their friends and family.
The combination of chocolate and coconut creates a rich and satisfying taste, while the almonds add a nice crunch. These energy balls make for an excellent snack or dessert option, perfect for a quick pick-me-up. Whether you’re heading to the gym or just need something sweet, these bites are sure to hit the spot!
Ingredients
- 1 cup almond butter
- 1 cup rolled oats
- 1/2 cup shredded coconut
- 1/4 cup honey or maple syrup
- 1/2 cup dark chocolate chips
Instructions
- Mix the Ingredients: In a large bowl, combine almond butter, rolled oats, shredded coconut, and honey or maple syrup. Stir until well combined.
- Add Chocolate: Fold in the dark chocolate chips until evenly distributed throughout the mixture.
- Form the Balls: Using your hands, roll the mixture into small balls, about 1 inch in diameter.
- Chill: Place the energy balls on a baking sheet lined with parchment paper and refrigerate for at least 30 minutes to firm up.
- Enjoy: Once chilled, enjoy these tasty snacks anytime or store them in an airtight container in the fridge for up to a week.
3-Ingredient Chocolate Fudge
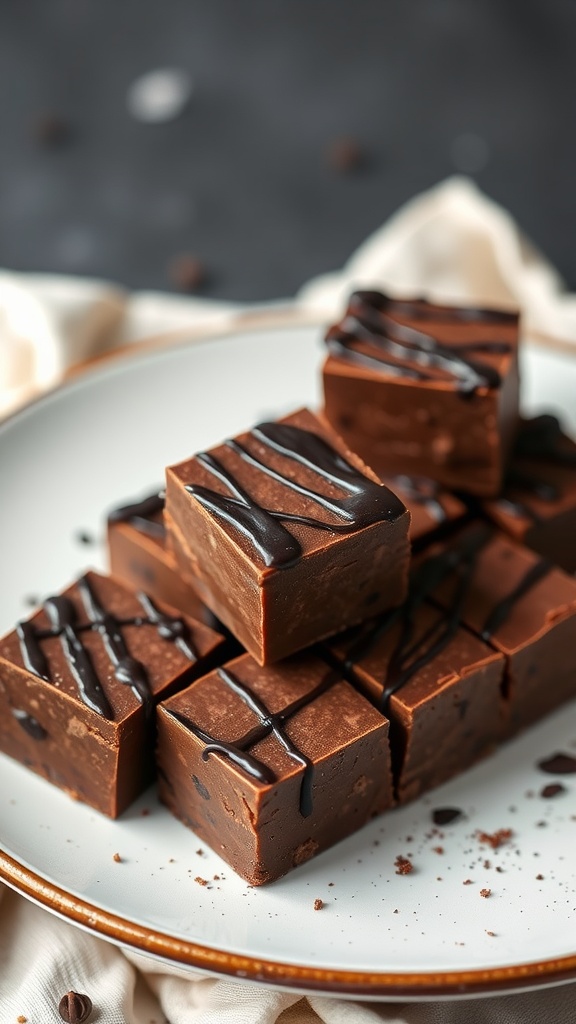
This 3-Ingredient Chocolate Fudge is a rich and creamy treat that’s incredibly easy to make. Perfect for beginners, it delivers a delightful chocolatey taste without complicated steps or hard-to-find ingredients.
With just chocolate chips, sweetened condensed milk, and butter, you’ll whip up a batch of fudge that melts in your mouth and satisfies any sweet craving. It’s a go-to recipe for last-minute gatherings or a cozy night in!
Ingredients
- 2 cups chocolate chips
- 1 can (14 ounces) sweetened condensed milk
- 2 tablespoons unsalted butter
Instructions
- Prepare the Pan: Line an 8-inch square baking dish with parchment paper for easy removal.
- Melt the Mixture: In a saucepan over low heat, combine chocolate chips, sweetened condensed milk, and butter. Stir constantly until the mixture is completely melted and smooth.
- Spread in the Pan: Pour the melted fudge mixture into the prepared baking dish and spread it evenly.
- Chill: Refrigerate for at least 2 hours or until firm. Once set, lift the fudge from the dish using the parchment paper and cut into squares.
- Enjoy: Serve chilled and enjoy your delicious, homemade chocolate fudge!
Peanut Butter Banana Cookies
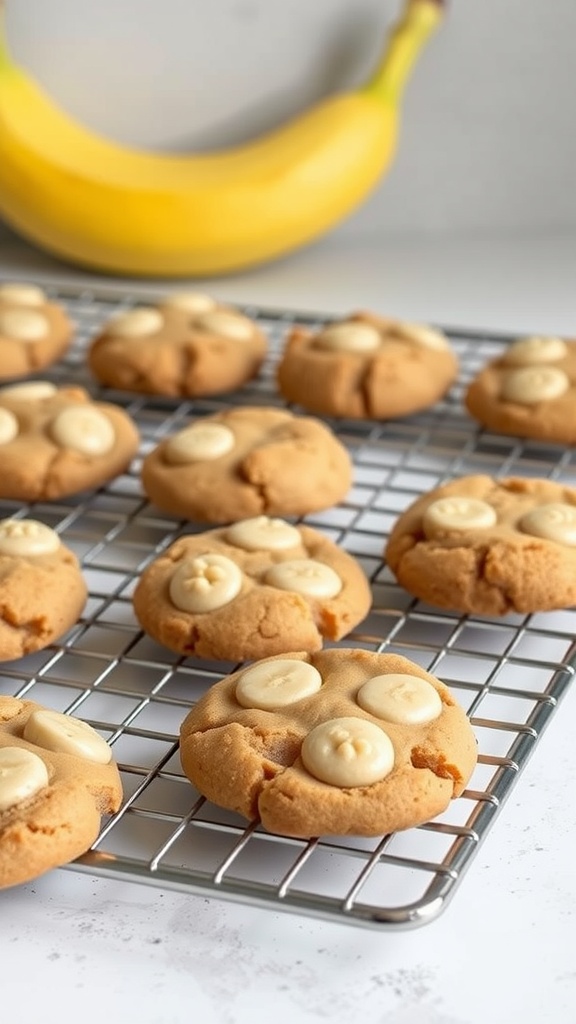
Peanut Butter Banana Cookies are a delightful treat that combines the rich flavor of peanut butter with the natural sweetness of ripe bananas. These cookies are soft, chewy, and incredibly simple to make, making them perfect for beginners in the kitchen. With only a handful of ingredients, you’ll have a delicious dessert ready in no time!
The taste is a wonderful blend of nutty and fruity, creating a cookie that’s both satisfying and guilt-free. Ideal for after-school snacks or a quick dessert, these cookies will surely become a favorite in your household.
Ingredients
- 1 cup peanut butter
- 1 ripe banana, mashed
- 1/2 cup sugar
- 1 teaspoon vanilla extract
- 1/2 teaspoon baking soda
Instructions
- Preheat the oven to 350°F (175°C) and line a baking sheet with parchment paper.
- In a mixing bowl, combine the peanut butter, mashed banana, sugar, vanilla extract, and baking soda. Mix until smooth.
- Using a spoon, drop tablespoon-sized portions of the cookie dough onto the prepared baking sheet, spacing them about 2 inches apart.
- Bake for 10-12 minutes, or until the edges are lightly golden. Allow to cool on the baking sheet for a few minutes before transferring to a wire rack.
- Enjoy your warm Peanut Butter Banana Cookies!
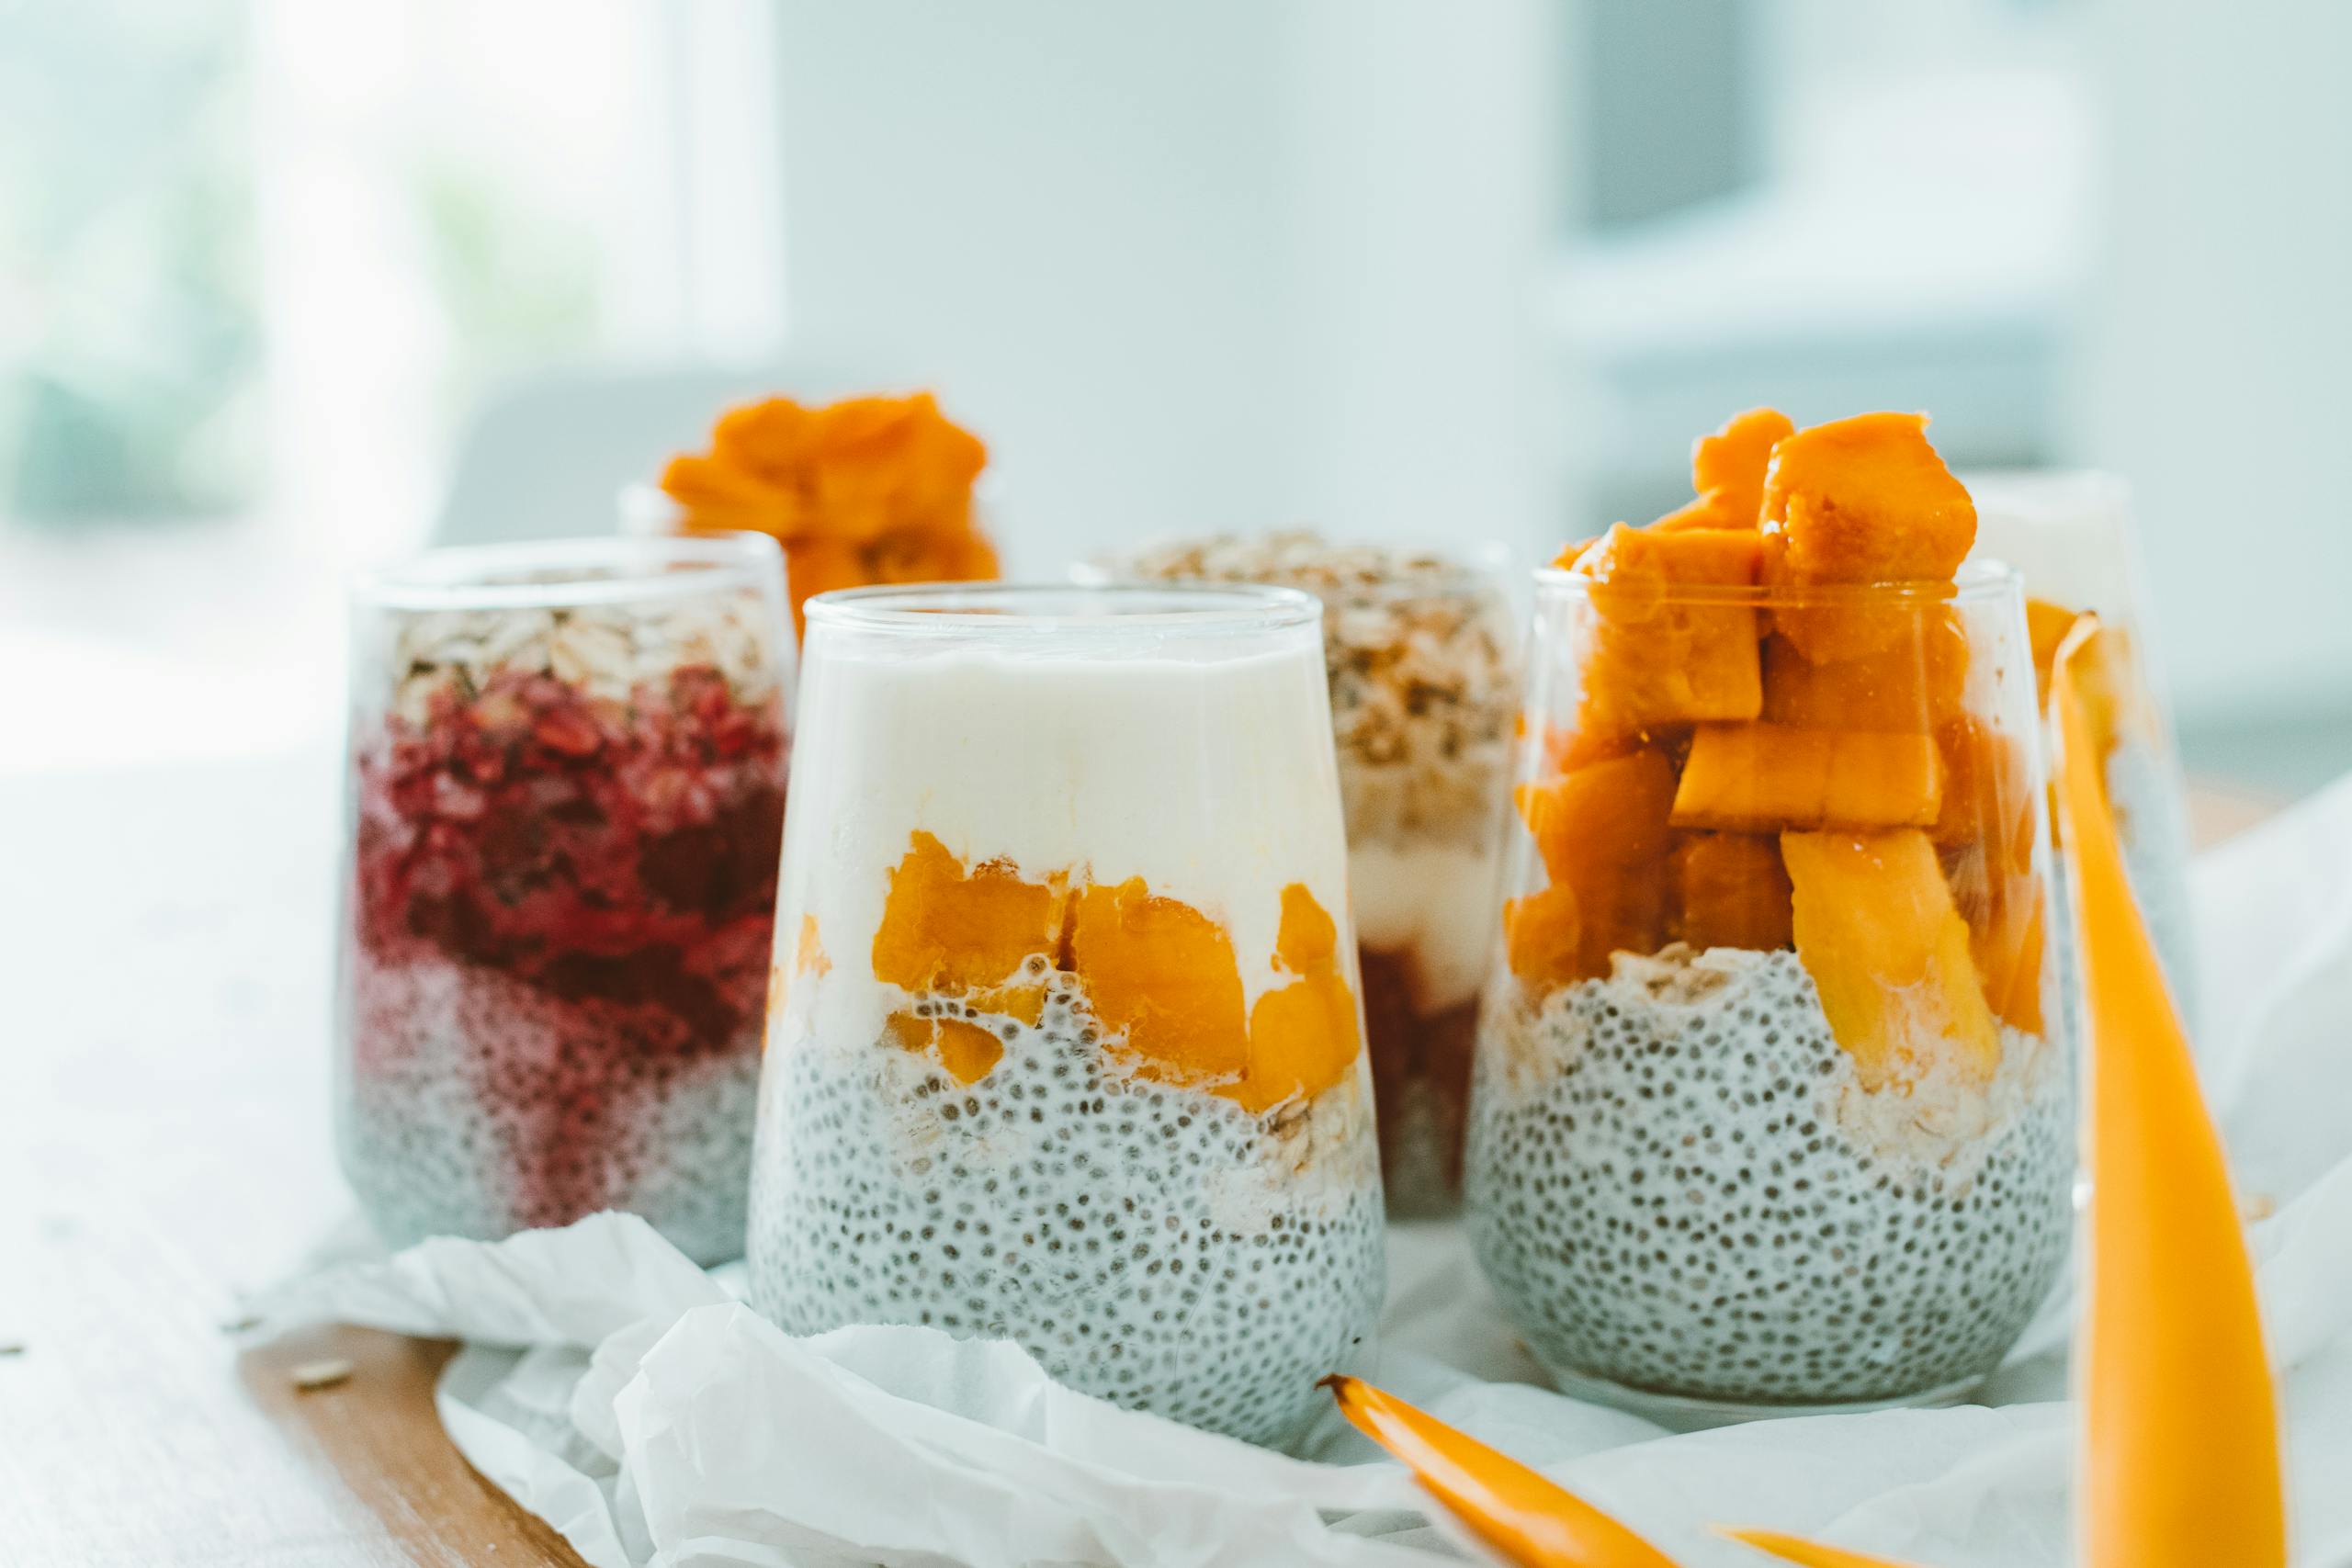
Fruit and Yogurt Popsicles
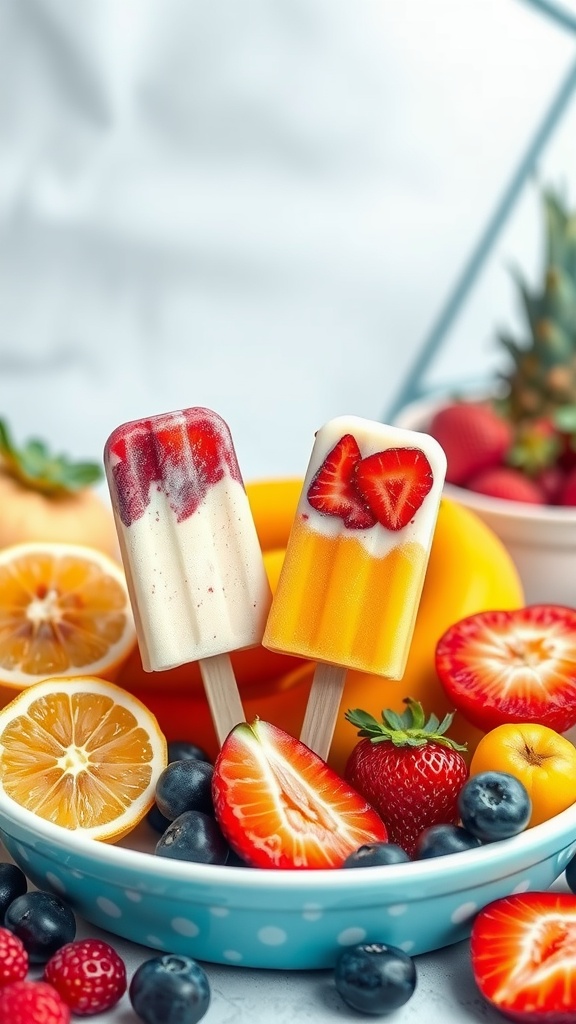
Fruit and yogurt popsicles are a refreshing treat that’s both delicious and easy to make. They combine the creaminess of yogurt with the natural sweetness of fruit, resulting in a delightful snack perfect for hot days. With just five ingredients, they’re beginner-friendly and customizable to suit your taste.
These popsicles are not only fun to eat but also provide a nutritious alternative to store-bought frozen treats. You can mix and match your favorite fruits and yogurt flavors to create your perfect combination. Here’s a simple recipe to get you started!
Ingredients
- 2 cups yogurt (plain or flavored)
- 1 cup fresh fruit (such as strawberries, blueberries, or bananas)
- 1/4 cup honey or maple syrup
- 1 tablespoon lemon juice
- 1 teaspoon vanilla extract (optional)
Instructions
- Blend the Ingredients: In a blender, combine yogurt, fresh fruit, honey or maple syrup, lemon juice, and vanilla extract. Blend until smooth.
- Pour into Molds: Carefully pour the mixture into popsicle molds, leaving a little space at the top for expansion.
- Add Sticks: Insert popsicle sticks into the molds and place them in the freezer.
- Freeze: Let the popsicles freeze for at least 4-6 hours, or until completely solid.
- Enjoy: To remove the popsicles, run warm water over the outside of the molds for a few seconds. Enjoy your homemade fruit and yogurt popsicles!